
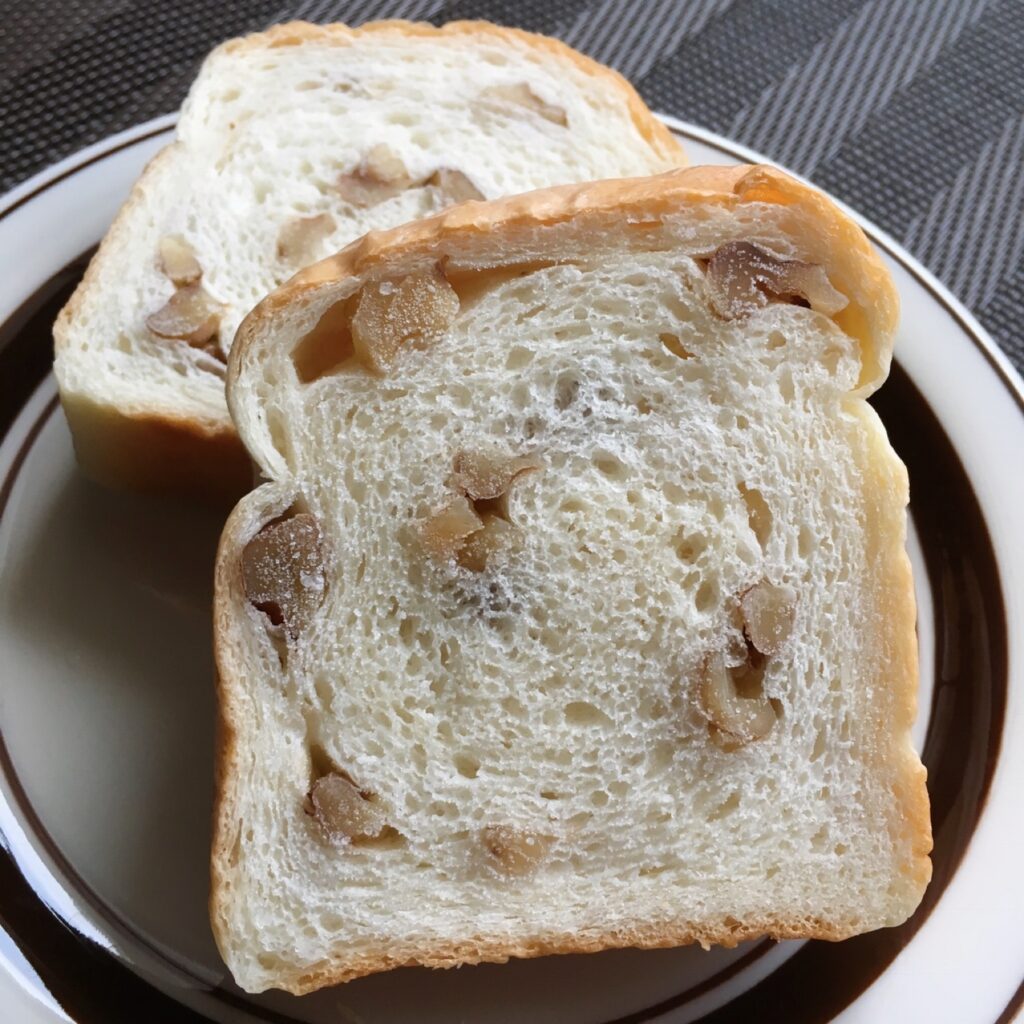
Soft & Airy Japanese Walnut Bread (くるみパン)
Forget the tough, crusty loaves you might be used to. Japanese bread is famous for being incredibly soft, fluffy, and cloud-like in texture. With this simple hand-kneading method, even beginners can recreate that cozy Japanese cafe experience right in their own kitchen.
These rustic walnut buns have a gentle, earthy sweetness that pairs perfectly with your morning coffee, a thick spread of cream cheese, or a dollop of orange marmalade.
The Secret Behind the Softness: Japan vs. The West
The fundamental difference lies in the ingredients. While traditional European breads are typically crafted from a simple base of flour, water, and salt, Japanese bread takes a more indulgent approach.
The hallmark of Japanese dough is the addition of fats and dairy, such as milk, butter, or shortening. Incorporating these ingredients coats the flour’s proteins, weakening the gluten network just enough to transform the texture. The result is a loaf that isn’t just bread—it’s a moist, chewy, and tender masterpiece with a melt-in-your-mouth quality.
Comparison at a Glance
| Feature | Western Style (Traditional) | Japanese Style (Shokupan/Cafe-style) |
| Core Ingredients | Flour, Water, Salt, Yeast | Flour, Milk, Butter, Sugar, Yeast |
| Texture | Crusty, airy, and chewy | Soft, and “mochi-mochi” |
| Flavor Profile | Savory and wheaty | Rich, milky, and subtly sweet |
The Journey to This Bread Dough Recipe
At one time, I was completely obsessed with baking bread. Being naturally clumsy, I faced countless failures along the way. However, through constant trial and error, I finally perfected this dough recipe. Even if you aren’t particularly handy, you can make this easily once you grasp a few simple “knacks.”
Once you master this dough, the possibilities for customization are endless:
- Savory: Wrap it around sausages or bacon, then top with mayonnaise or ketchup.
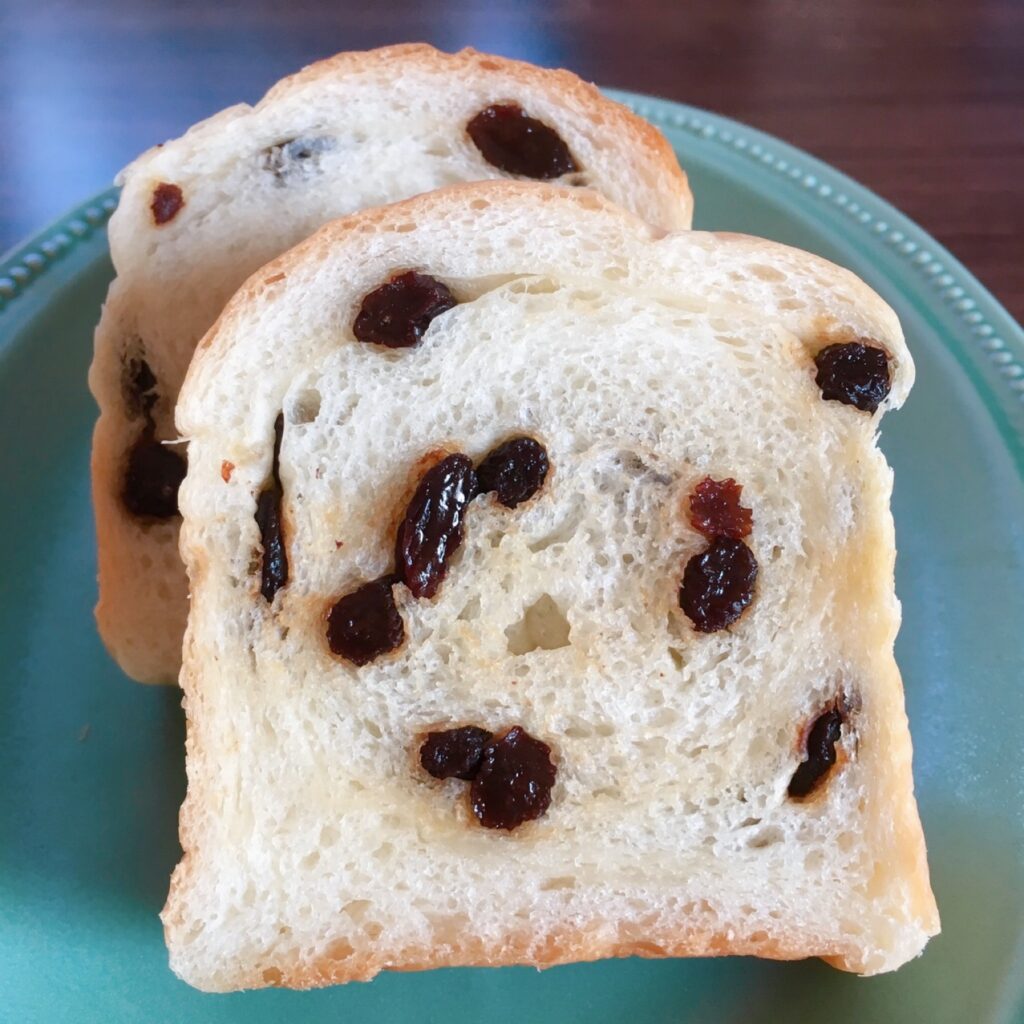
- Mix-ins: Swap walnuts for chocolate chips, raisins, or black sesame seeds.
- Sweet: Fill it with rich custard cream.
While hand-kneading takes time, it offers unique benefits:
- The joy of watching the fermentation process and the immense satisfaction of the finished product.
- The ability to bake larger batches at once compared to a bread machine.
- Total control over the ingredients, ratios, and mix-ins.
Pro-Tips for Delicious Bread Dough
- Temperature Control:
- Temperature is everything. If the milk or eggs are too cold, they inhibit the yeast, resulting in a stiff dough. Aim to keep the dough temperature around 37°C.
- The “Hand-Sticking” Solution:
- One of the biggest hurdles I faced was dough sticking to my hands. I solved this by wearing snug rubber or nitrile gloves. Having dough get stuck in the creases of my palms or under my fingernails was incredibly stressful. Switching to gloves was a total game-changer for my baking experience.
- The Timing of Fats (Butter and Eggs):
- Fats have a tendency to inhibit gluten formation. If you add them too early, the flour particles get coated in fat, making it difficult for the gluten structure to develop. Therefore, you should wait until the dough has come together before adding the eggs and butter. The best time to add the fats is when the dough has become somewhat smooth and can be stretched thin without tearing.
🍞 Nutrition Facts (Per Loaf) : Japanese Walnut Bread Recipe (Kurumi Pan)
- Calories: 1,414 kcal
- Protein: 37.4g
- Total Fat: 67.6g
- Total Carbohydrates: 174.3g
- Salt Equivalents: 1.2g
🛒 Ingredients : Japanese Walnut Bread Recipe (Kurumi Pan)
Yields 1 loaf (using a 21cm pound cake mold)
Dry Mix (☆):
- 180g Bread flour
- 20g Cake flour
- 15g Sugar
- 3g Salt
- 2g Dry yeast (I highly recommend Saf-Instant by Lesaffre!)
Wet Ingredients & Fats:
- 150g Milk (warmed to approx. 40°C)
- 5g Cooking oil
- 15g Unsalted butter (room temperature)
Mix-in:
- 60g Walnuts (roughly chopped)
🥐How to make Japanese Walnut Bread Recipe (Kurumi Pan)
📝 Preparation
- Prep the Mold: Line your 21cm pound cake mold with parchment paper.
- Pro-Tip: Put on a pair of tight-fitting rubber or nitrile gloves. This is a game-changer—no more dough sticking to your fingers!

👩🍳 Instructions
- Mixing the Dough
- In a large bowl, combine the bread flour, cake flour, sugar, salt, and dry yeast.
- Crucial Step: Keep the salt and yeast on opposite sides of the bowl initially, as direct contact with salt can inhibit the yeast.
- Pour half of the warm milk directly onto the yeast. Let it sit for a few minutes, then stir with chopsticks.
- Add the remaining milk and mix until a shaggy dough forms.
- Kneading & Adding Fats
- Once the dough comes together, add the oil and begin kneading.
- Once the dough becomes elastic, incorporate the unsalted butter. Continue kneading until the dough is soft, smooth, and passes the “windowpane test” (you can stretch it into a thin sheet without it tearing).
- First Fermentation & Shaping
- Shape the dough into a ball and let it rise (1st Fermentation): 40 minutes at 35°C (or until doubled in size).
- Gently press down on the dough to release the gas (degassing), reshape into a ball, and let it rest for 10 minutes.
- Roll the dough out into a 21cm square. Evenly sprinkle the walnuts over the surface.
- Roll the dough up tightly from the front edge. Pinch the seam firmly to seal it.
- Second Fermentation & Baking
- Place the dough into the lined mold.
- Let it rise again (2nd Fermentation): 40 minutes at 35°C.
- Preheat your oven to 170°C. Bake on the middle rack for 25 minutes.
- Finishing Touches
- The “Shock”: Immediately after removing from the oven, drop the mold from a height of about 20cm onto a flat surface. This “shocks” the bread and prevents it from shrinking as it cools.
- Remove the bread from the mold and place it on a wire rack to cool completely.
📖Related Link: Read the Japanese version of this article here! [ふわふわのくるみパンのレシピ]

コメント