
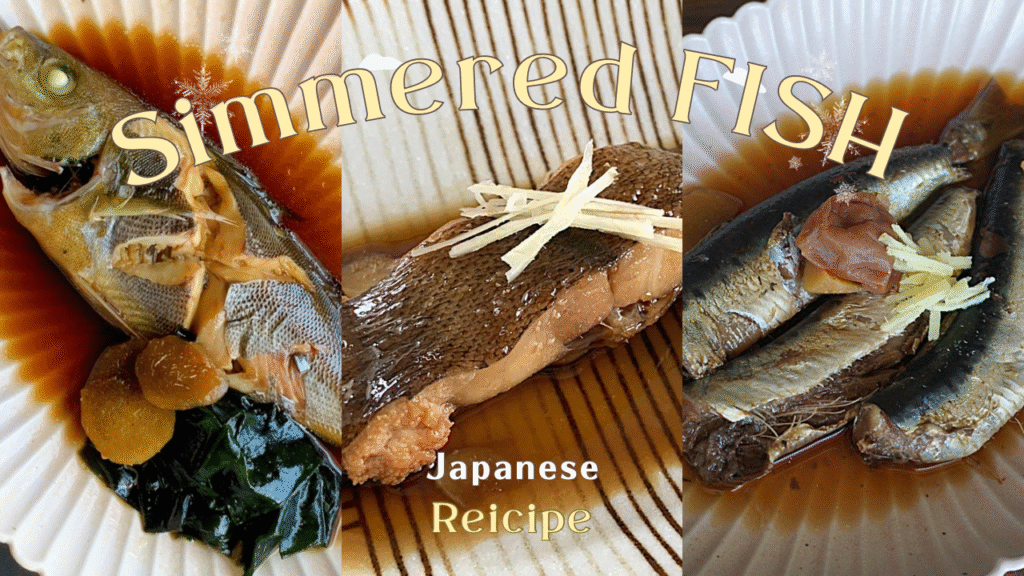
The Art of Japanese Simmered Fish: Understanding “Nitsuke”(魚の煮つけ)
In Japanese cuisine, simmered dishes are known as Nimono. While they all share a base of soy sauce and sugar, the techniques vary depending on the ingredients. Today, let’s dive into the world of Nitsuke—the perfect method for delicate fish.
Nitsuke vs. Nishime: What’s the Difference?
It’s easy to confuse these terms, but the secret lies in the cooking time and the “finishing” of the sauce.
- Nitsuke (煮付け): A quick-simmering method for fish. Since fish has delicate flesh that falls apart easily, we cook it briefly in a small amount of concentrated sauce.
- Nizakana (煮魚): A general term for simmered fish. It can also refer to dishes simmered longer (like sardines) to soften the small bones so they can be eaten.
- Nishime (煮しめ): Usually for vegetables and konjac. These are simmered until the liquid almost completely evaporates, infusing the flavor deep into the ingredients.
[The Nitsuke Style] In Nitsuke, the flavor doesn’t reach the very center of the fish because of the short cooking time. This is intentional! You are meant to dip the tender white meat into the rich sauce on your plate as you eat.
The Golden Ratio: The Perfect Sauce
For a classic Nitsuke flavor, you don’t need complex measurements. My favorite balance is the “3:3:3:1 Rule.”
- Sake (Rice Wine): 3 tbsp
- Soy Sauce: 3 tbsp
- Mirin (Sweet Rice Wine): 3 tbsp
- Sugar: 1 tbsp (Adjust between 0.5 to 1.5 depending on the fish or your preference)
Why use so much Sake instead of water?
This is the secret to a professional result:
- Removes Odors: A generous amount of Sake effectively neutralizes any “fishy” smells.
- Perfect Reduction: Alcohol evaporates faster than water, making it much easier to boil down the liquid into a thick, flavorful glaze.
Essential Tips for a Perfect Nitsuke
Step 1: Prep with “Shimofuri” (The Frosting Method)
For oily fish like mackerel (Saba) or yellowtail (Buri), the smell can be a concern.
- The Technique: Pour boiling water over the raw fish before cooking, then rinse in cold water.
- The Result: This removes blood and slime. Adding ginger to the sauce also helps neutralize scents.
Step 2: The Boiling Start
Once your sauce is ready, follow these two critical tips:
- Wait for the Boil, then Pause Always start with a boiling sauce to seal the “Umami” inside.
- Important: Turn off the heat right before you place the fish in the pan. If the liquid is bubbling too violently, it can break the delicate flesh. Once the fish is positioned, turn the heat back on to a simmer.
Step 3: Choose the Right Pan
- Use a compact, slightly deep pan: Avoid very wide pan. A smaller, deeper pan allows the sauce to sit higher, flavoring the fish more effectively with less liquid.
- Concentrated Sauce is Key: Don’t drown the fish. A smaller amount of concentrated sauce reduces faster, creating a rich, syrupy glaze that clings to the fish.
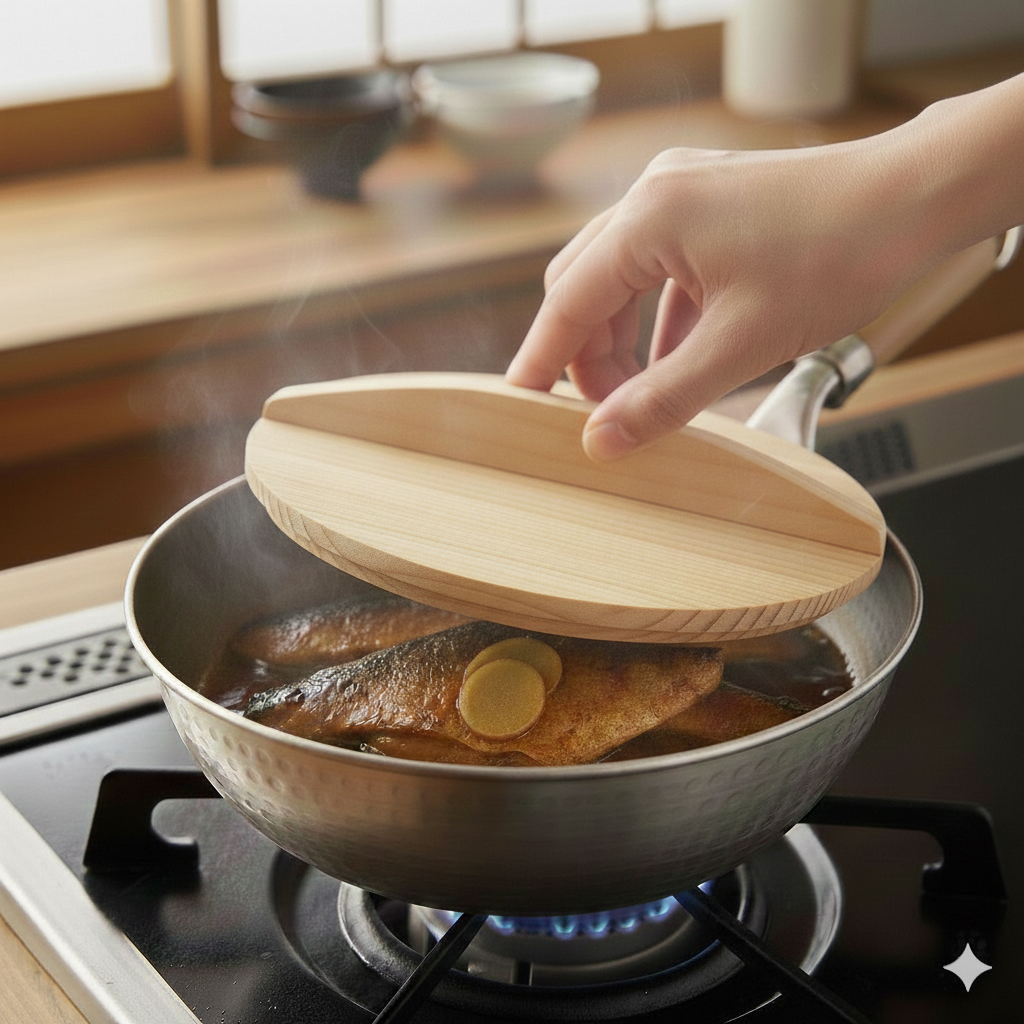
Step 4: Use an “Otoshi-buta” (Drop Lid)
In Nitsuke, we never flip the fish to avoid tearing the skin.
- The Benefit: It forces the sauce to circulate over the top, coating it with a beautiful glaze.
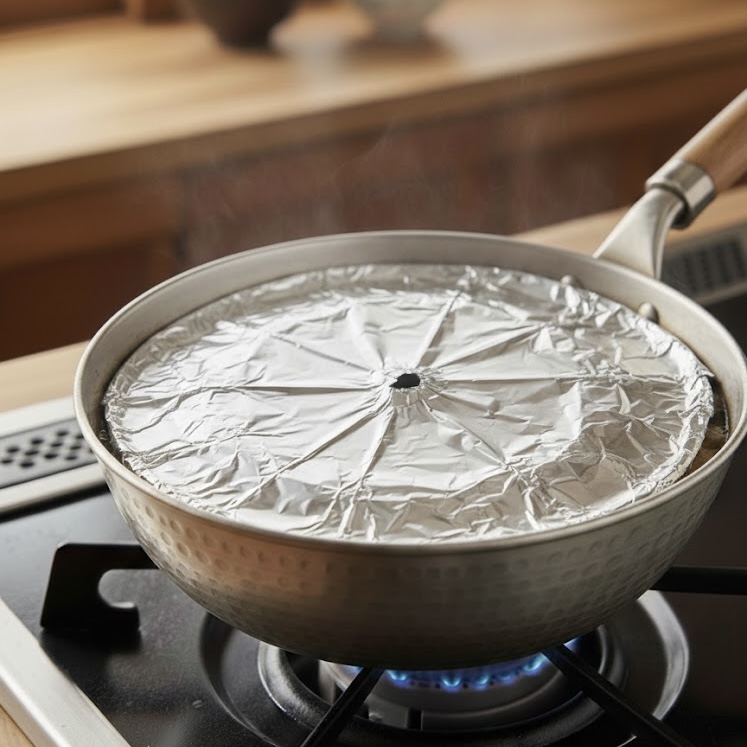
- 💡 No “Otoshi-buta”? Use a piece of aluminum foil or cooking paper cut into a circle with a few holes in the middle.
Summary for Success
Finish strong: Boil down the sauce at the end until it thickens slightly for that perfect “Nitsuke” shine.
Freshness is key: Always start with high-quality fish.
Less is more: A concentrated sauce creates a better glaze than a watery soup.
🐟 Recipes for Simmered Fish
Now that you’ve mastered the basics of Nitsuke, it’s time to head into the kitchen!
Each fish has its own unique texture and flavor profile. Here are some of my favorite recipes designed to bring out the best in each variety. Be sure to click the links below for the full step-by-step guides!
Karei Nitsuke (Simmered Righteye Flounder)
“The Ultimate Classic of Japanese Home Cooking” Karei Nitsuke is the gold standard of Japanese home-style dishes. Once you master the art of coating that fluffy white meat with a perfect sweet-and-savory glaze, your Japanese cooking skills will instantly reach a professional level. Start with this recipe to truly get a feel for the essentials of Nitsuke.
👉 [ Karei Nitsuke (Simmered righteye flounder)]
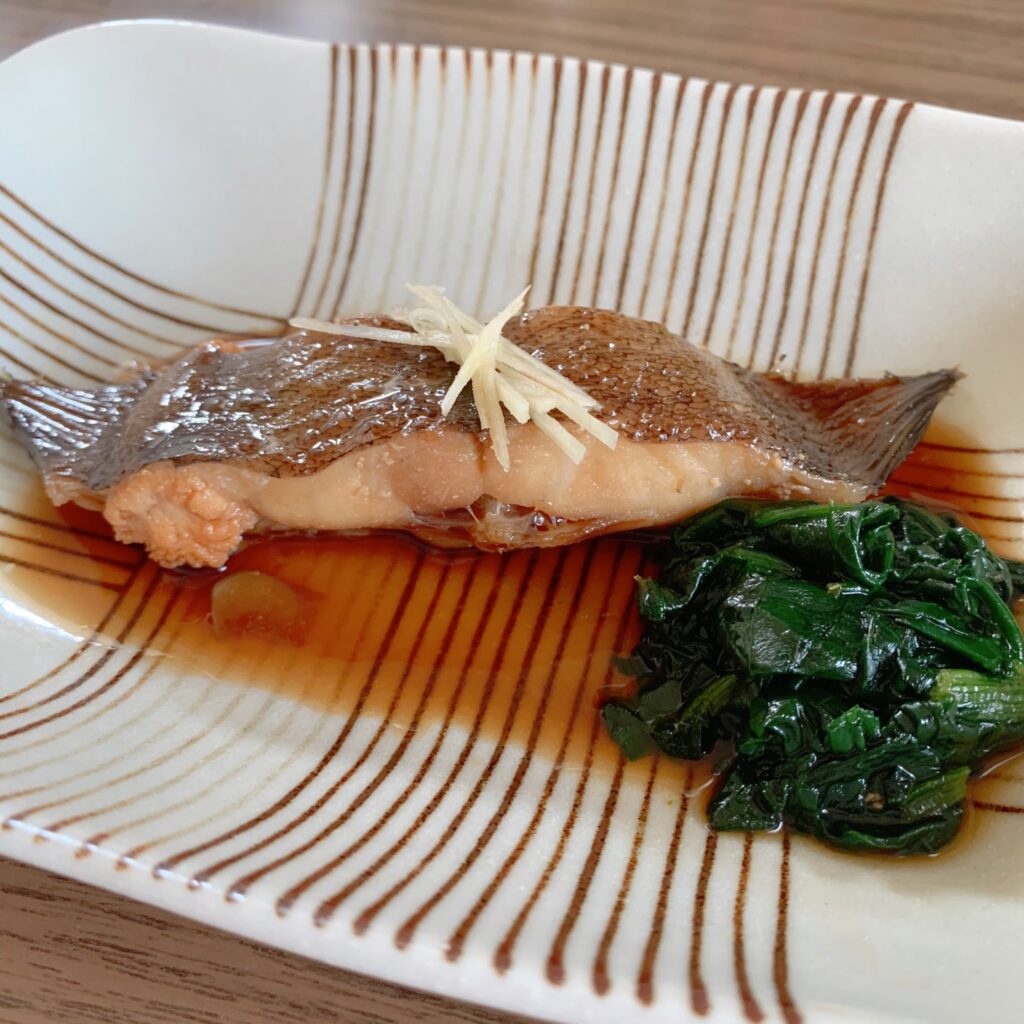
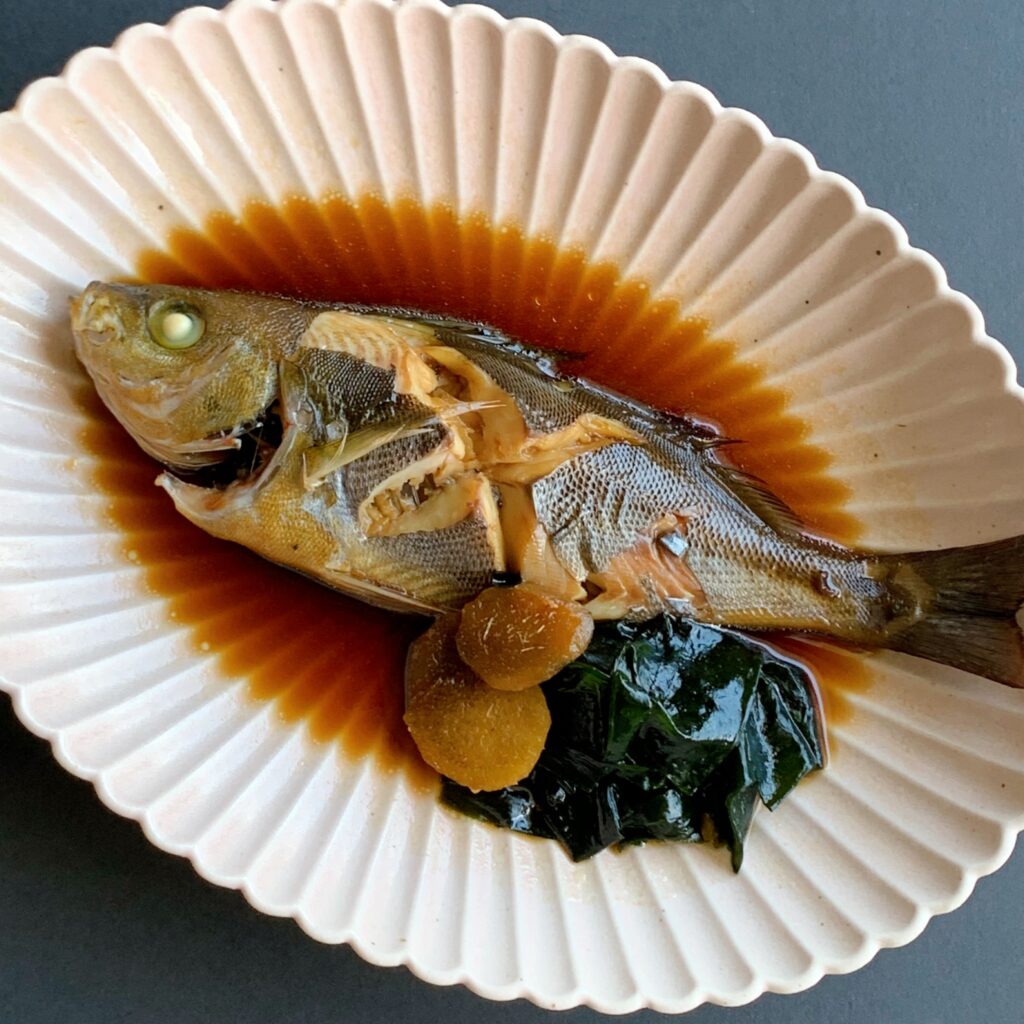
Isaki Nitsuke (Simmered Chicken Grunt)
“Elegant Flavor with a Melt-in-Your-Mouth Texture” Isaki (Chicken Grunt) is a white fish known for its clean, sophisticated taste. Its delicate and tender flesh is practically made for the “Nitsuke” cooking method. If you’re usually sensitive to “fishy” smells, I highly recommend this refined dish—it’s a true masterpiece of subtle flavors.
👉 [ Isaki nitsuke (Chicken grunt in soy sauce)]
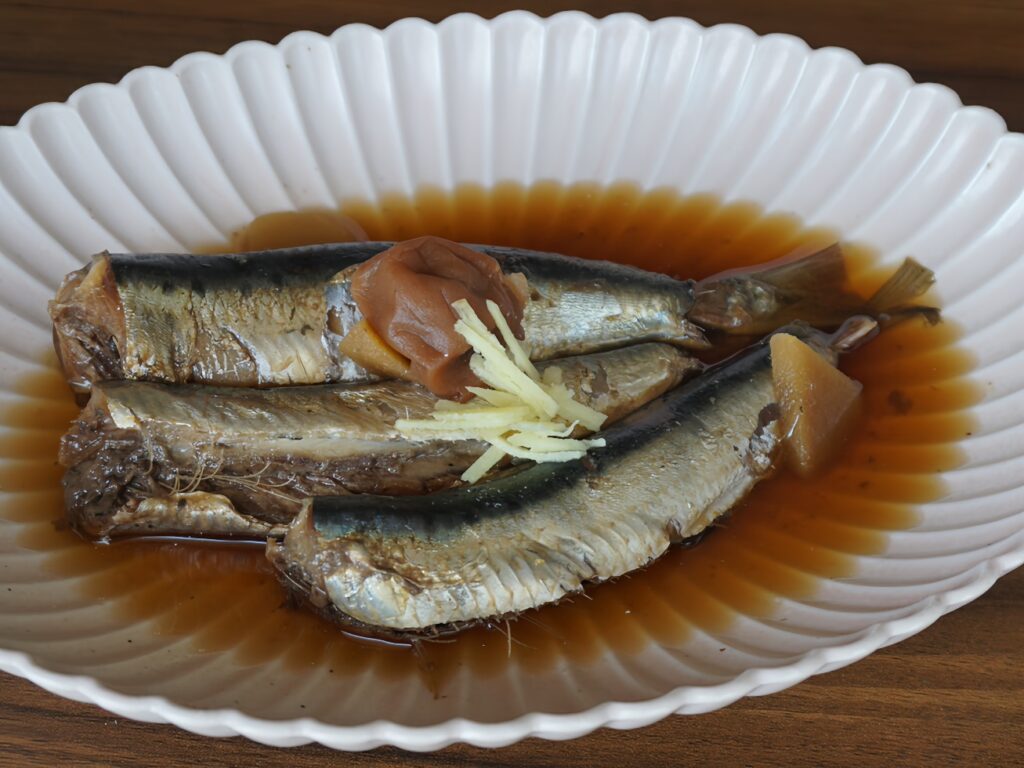
Iwashi no Ume-shogani (Sardines with Plum & Ginger)
“A Nutritious Powerhouse: Sweet, Sour, and Savory” In this recipe, sardines (Iwashi) are slow-simmered with Umeboshi (pickled plums) and ginger. The tartness of the plum cuts through the richness of the sardine’s natural oils, making it refreshing while softening the fish right down to the bone. It is a wholesome, heartwarming recipe packed with essential nutrients like calcium, EPA, and DHA.
👉 [Simmered Iwashi fish with Umeboshi and Ginger (ume shogani)]
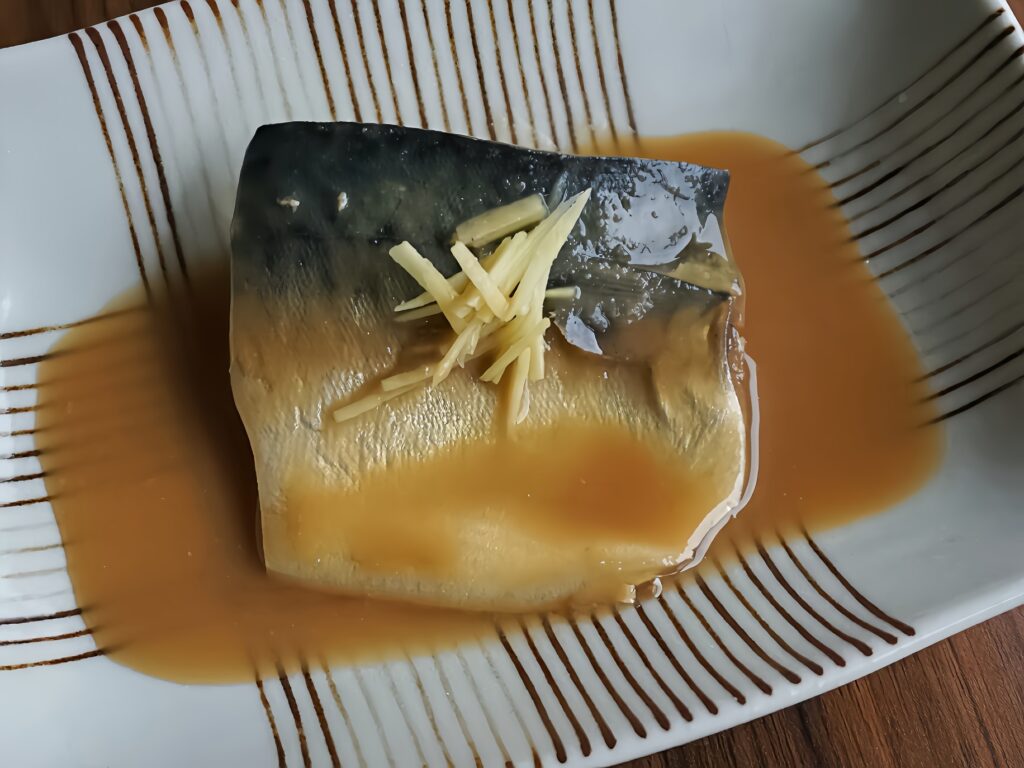
Saba Miso-ni
Fatty mackerel is simmered slowly in a sweet miso sauce. A little extra preparation eliminates any fishy smell and results in a rich flavor. It’s truly the perfect partner for white rice. 👉 [Saba no Miso-ni: The Ultimate Guide to Mackerel Simmered in Miso]
📖Related Link: Read the Japanese version of this article here! 日本の魚の煮付けの達人:3:3:3:1の黄金比
魚の煮付け #煮付け #和食ごはん #おうちごはん #SimmeredFish #Nitsuke #JapaneseFood #HealthyEating
コメント