
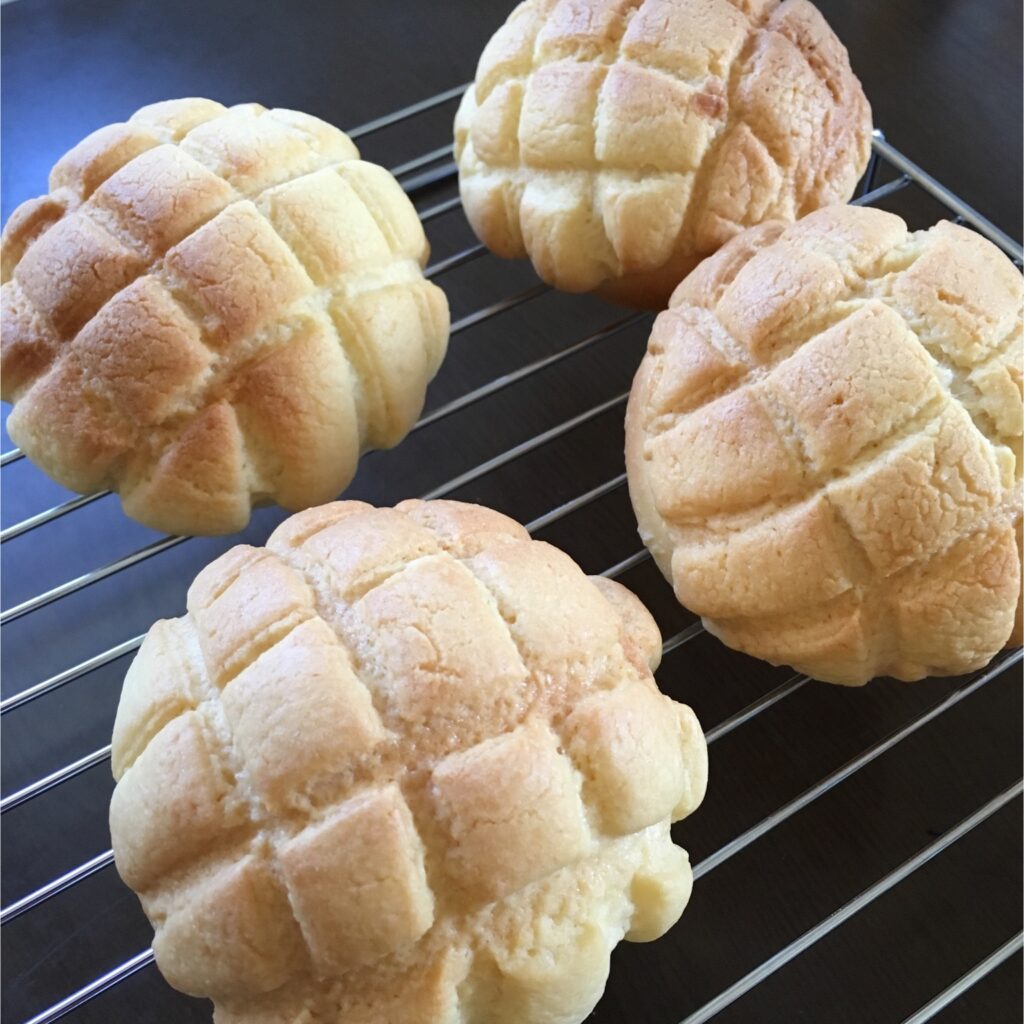
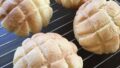
Freshly Baked is Best! “Melon Pan” — Crunchy Outside, Fluffy Inside
In Japanese bakeries and convenience stores, Melon Pan reigns supreme. This “dream sweet bread” is like a fusion of cake and bread, featuring a sweet cookie crust perched atop a soft bread dough. While the classic lattice pattern is iconic, its versatility—from mixing in chocolate chips to sandwiching whipped cream—is part of its lasting charm.
Making it by hand involves several steps, but the emotional reward of that first bite is incomparable. Here is the recipe, complete with professional tips to ensure your success.
Ingredients (Makes 10 pieces); Melon Pan
【Bread Dough】
- Bread flour: 270g
- Cake flour: 30g
- Sugar: 20g
- Salt: 4g
- Dry yeast: 3g
- Milk: 230g
- Oil: 10g
- Unsalted butter: 20g
【Cookie Dough】
- Unsalted butter: 30g
- Sugar: 60g
- Cake flour: 130g
- Beaten egg: 30g
Melon Pan Instructions
👩🍳 Step 1: Preparing the Bread Dough
- Mixing:
- In a bowl, combine the bread flour, cake flour, sugar, salt, and dry yeast.
- Important: To prevent the salt from inhibiting the yeast, place them on opposite sides of the bowl initially.
- Pour half of the warmed milk directly onto the yeast. Let it sit for a few minutes, then mix with chopsticks or a spatula.
- Add the remaining milk and mix until the flouriness disappears.
- Kneading & Adding Fats:
- Once the dough starts to come together, add the oil and begin kneading.
- When the dough gains elasticity, knead in the unsalted butter. Continue kneading until the dough is soft, smooth, and passes the “Windowpane Test” (where the dough can be stretched thin enough to see through without tearing).
- First Proofing & Shaping:
- Shape the dough into a ball and let it undergo its first proofing at 35°C for 40 minutes (or until it doubles in size).
- Gently press the dough to release gas (degassing), reshape it into a ball, and let it rest for 10 minutes.
- Roll the dough out into a 21cm square and scatter walnuts evenly across the surface.
- Roll it up tightly from the front edge and pinch the seam firmly to seal.
👩🍳 Step 2: Topping & Baking
- Make the Cookie Dough (Advance Prep):
- Place unsalted butter, sugar, cake flour, and egg into a food processor. Mix until it reaches a crumbly texture.
- Gather it into a single mass, shape it into a cylinder, wrap in plastic wrap, and chill in the refrigerator until firm.
- 💡Point: Cookie dough can be frozen. Making it the day before ensures a smooth process on baking day.
- Shaping the Cookie Dough:
- Divide the chilled dough into 10 equal portions. Flatten them into neat circles using something like a flat bottle cap.
- Wrapping the Bread Dough:
- Place the cookie dough circles over the bread dough (before the second proofing).
- Important: Cover about 2/3 of the dough, intentionally leaving the bottom exposed. If you wrap the whole thing, it will hinder the bread from rising.
- Creating the Pattern (Optional):
- Use a dough scraper or knife to score a lattice pattern onto the surface.
- Second Proofing:
- Let rest at 35°C for 40 minutes.
- Caution: Work quickly! The secret to a crunchy finish is keeping the cookie dough cold; don’t let it get too soft from your hand warmth or room temperature.
- Baking:
- Place in an oven preheated to 200°C. Bake at 180°C for 10 minutes, then lower the temperature to 170°C and bake for another 5 minutes.
3 Keys to Success
- Temperature is Everything: If the cookie dough warms up, it becomes sticky and difficult to handle, and won’t bake up crispy. Always be mindful of keeping it “cold.”
- Sizing: If the cookie dough is too small, it may peel off when the bread expands during proofing. Make sure to spread it large enough to cover the bread dough sufficiently.
- Variations: Mix chocolate chips into the cookie dough for “Choco-chip Melon Pan”! I also recommend the “Maritozzo-style”—simply make a cut after baking and sandwich plenty of whipped cream inside.
Nutrition Facts (Total for 10 pieces); Melon Pan
- Calories: 2424 kcal (approx. 242 kcal per piece)
- Protein: 57.4 g
- Fat: 70.1 g
- Carbohydrates: 407.2 g
- Salt Equivalent: 4.3 g
Related Link
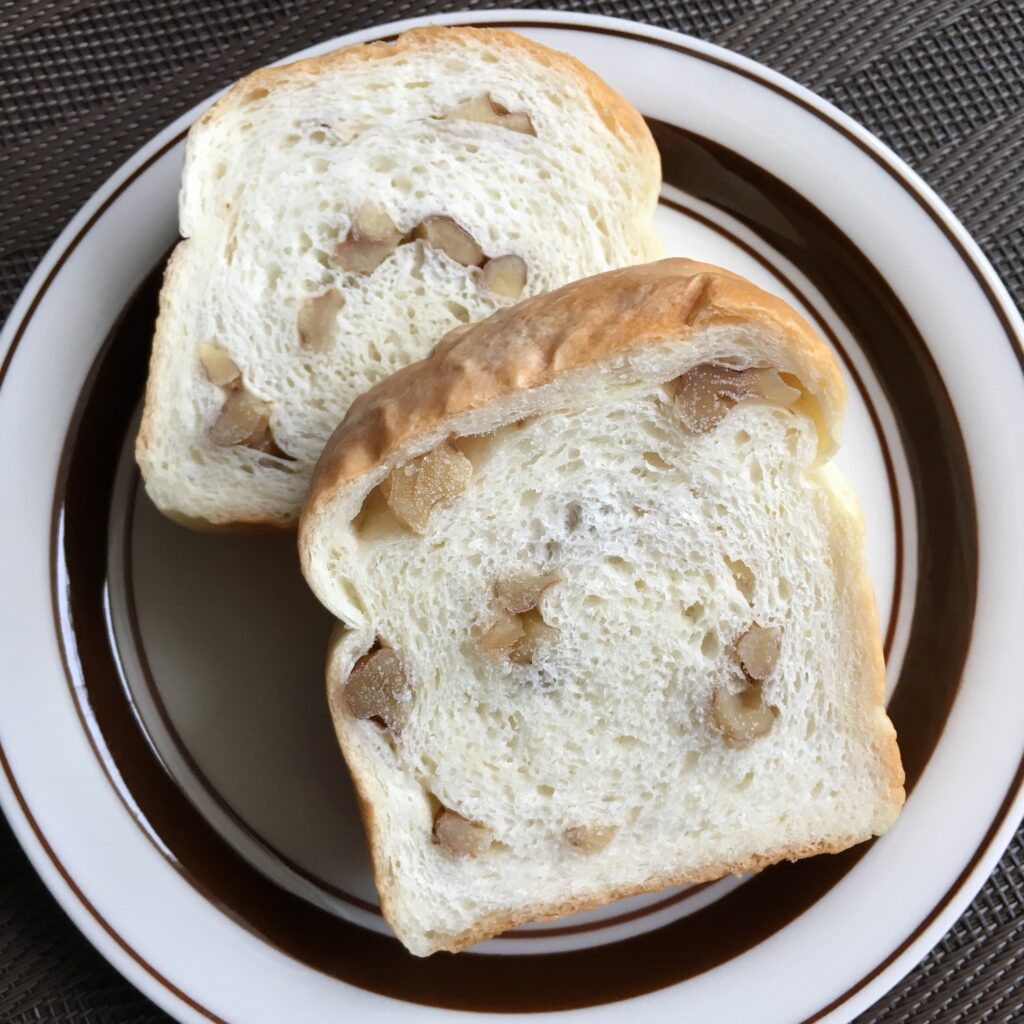
- For a recipe for Walnut Bread using the same hand-kneaded dough, click here. It’s easy to shape and perfect for adding raisins or black sesame. 👉[Fluffy Kurumi pan (Easy to make Hand-kneaded walnut bread)]
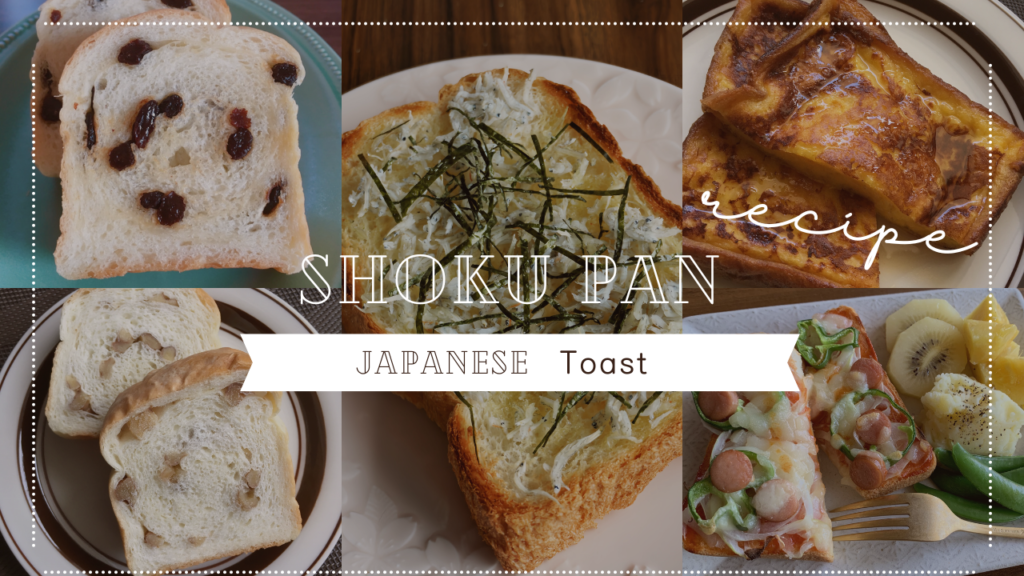
- If you have a Home Bakery (Bread Machine), you can certainly use it to make the dough. Please refer to this recipe. 👉[The Fluffy World of Shokupan: Japan’s Iconic Milk Bread]
- 📖Related Link: Read the Japanese version of this article here! [焼きたては格別!外カリ中ふわ「メロンパン」の作り方]
コメント